
Installing deck tiles on grass can transform an unused backyard into a comfortable outdoor living area without the expense of building a traditional deck. Interlocking tiles offer a practical way to create a patio, seating area, or garden walkway with relatively simple tools and installation methods.
But there’s one important detail many homeowners overlook: most deck tiles should not be installed directly over living grass or loose dirt.
Soft ground can shift, settle, and retain moisture, causing tiles to become uneven or disconnect over time. To create a stable, long-lasting surface, you need to prepare the ground properly and choose a base that supports your specific tile system.
In this guide, you’ll learn how to install deck tiles on grass or dirt, what materials you’ll need, how to prevent common installation problems, and when a different foundation may be the better choice.
Can You Put Deck Tiles Directly on Grass or Dirt?
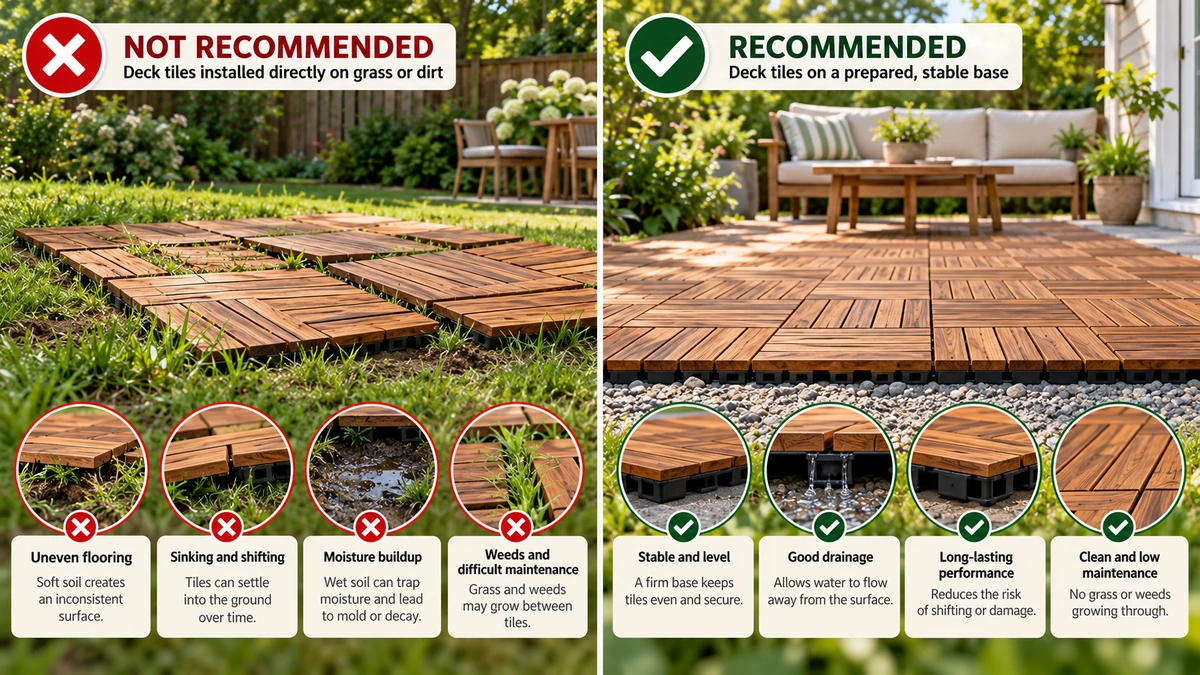
Learn why installing deck tiles directly on grass can cause sinking, uneven surfaces, and moisture problems—and why a properly prepared base matters.
Technically, some outdoor flooring products are designed for ground-level installation. However, standard interlocking wood deck tiles generally require a firm, flat, and well-drained surface.
Installing them directly on grass or loose soil can create several problems:
- Uneven flooring: Grass, roots, and soft soil create an inconsistent surface beneath the tiles.
- Sinking and shifting: Foot traffic and outdoor furniture can push tiles into the ground.
- Moisture buildup: Wet soil can trap moisture beneath wood tiles, increasing the risk of mold, decay, and premature deterioration.
- Disconnected tiles: An unstable base can place stress on interlocking connectors.
- Difficult maintenance: Grass and weeds may grow between tiles if the ground is not properly prepared.
For most installations, the better approach is to remove the grass and construct a compacted, level base. Depending on the tile manufacturer’s instructions, you may also need a rigid supporting surface, such as concrete pavers or an approved panel system.
Can You Install Deck Tiles on Dirt?
Yes, but only after preparing the soil and creating a suitable foundation.
Loose dirt alone is not an appropriate supporting surface for most interlocking deck tiles. Even if the ground looks level during installation, rainfall and regular use can cause it to settle unevenly.
A compacted crushed-stone base can improve drainage and stability. However, a gravel base does not automatically make every deck tile suitable for installation. Many products still require a continuous, rigid surface.
Always confirm the installation requirements for your specific tile model before starting.
What Is the Best Base for Deck Tiles on Grass?
The best foundation depends on the existing ground conditions, drainage, intended use, and tile design.
| Base type | Stability | Drainage | Suitability |
|---|---|---|---|
| Living grass | Poor | Variable | Generally not recommended |
| Loose dirt | Poor | Variable | Not recommended |
| Compacted crushed stone | Good when properly installed | Good | Suitable only for approved tile systems or as a sub-base |
| Concrete pavers | Very good | Depends on base and joints | Suitable for many tile systems when level and supported |
| Concrete slab | Excellent | Requires surface drainage | Commonly recommended |
| Existing level patio | Very good | Depends on surface | Often suitable after inspection |
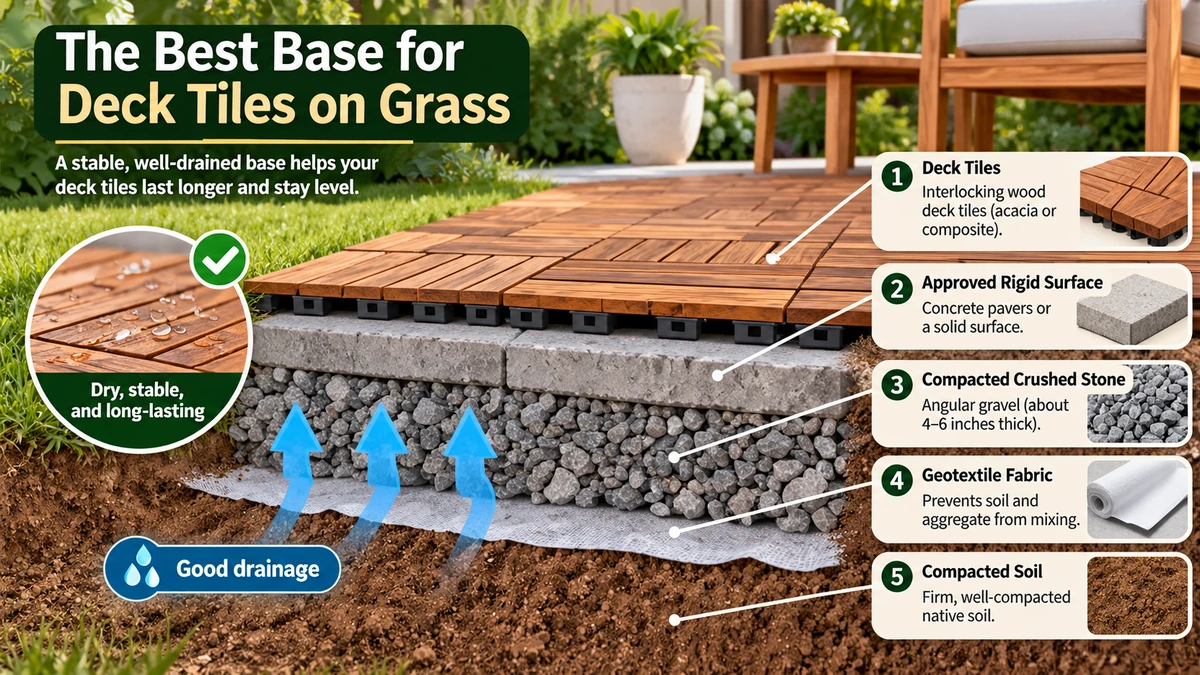
A properly prepared foundation combines compacted soil, geotextile fabric, crushed stone, and a tile-compatible supporting surface to improve stability and drainage.
For homeowners replacing a grassy area with outdoor deck tiles, a compacted aggregate foundation topped with an approved rigid surface is often a practical solution.
If you already have a level concrete patio, installation may be significantly easier because extensive ground preparation is usually unnecessary.
Recommended deck tiles
-
Sale
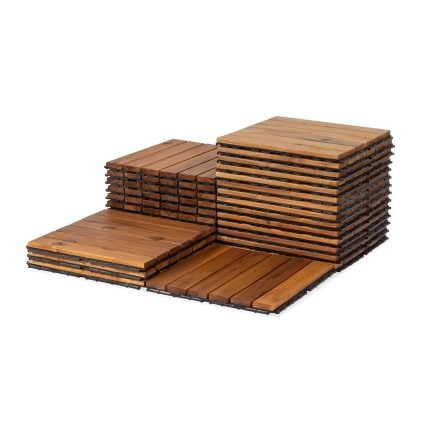 Decking Tiles
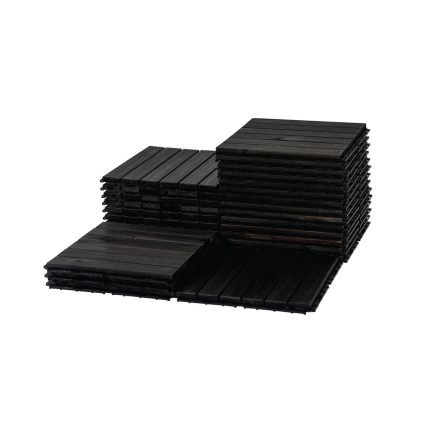
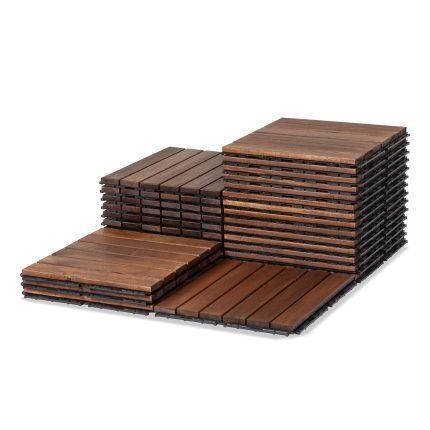
Round Joint Acacia Wood Deck Tiles, 6-Slat Interlocking Design for Indoor & Outdoor (Set of 27)
ColorOriginal price was: $104.02.$77.05Current price is: $77.05.
-
Sale
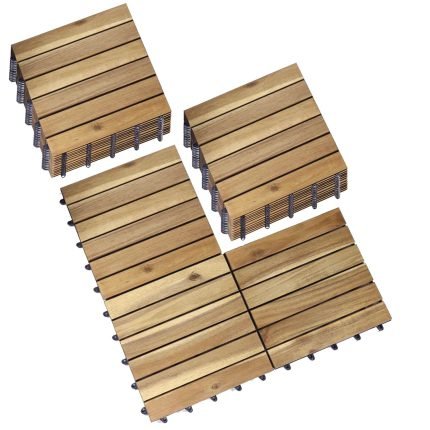
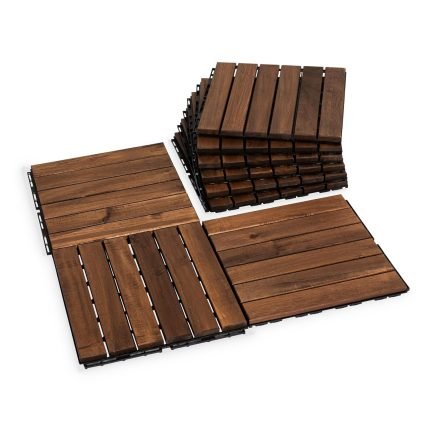
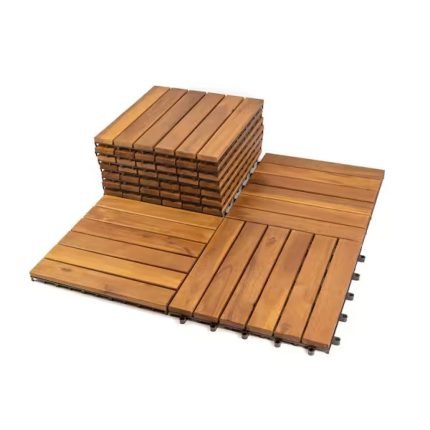 Decking Tiles
Square Joint Acacia Wood Deck Tiles, 6-Slat Interlocking Design for Indoor & Outdoor (Set of 27)
ColorOriginal price was: $104.02.$77.05Current price is: $77.05.
-
Sale
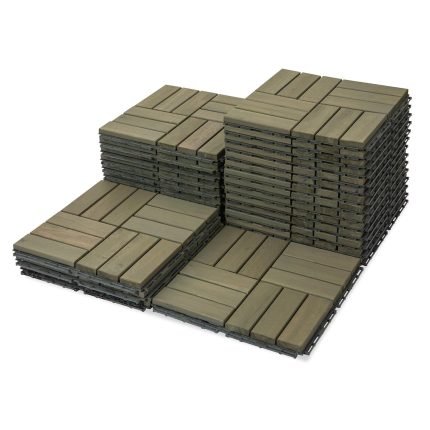
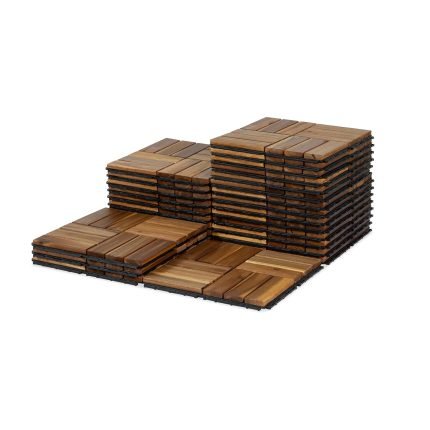
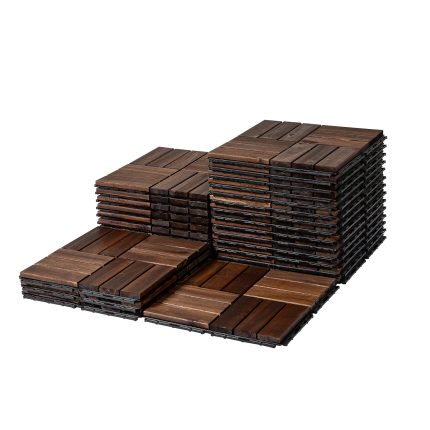 Decking Tiles
Round Joint Acacia Wood Deck Tiles, 12-Slat Interlocking Design for Indoor & Outdoor (Set of 27)
ColorPrice range: $77.05 through $79.93
Tools and Materials You’ll Need
Before installing deck tiles on grass, gather the following materials.
Tools
- Shovel or garden spade
- Rake
- Tape measure
- String line and stakes
- Long spirit level or straightedge
- Hand tamper or plate compactor
- Rubber mallet
- Saw suitable for the tile material, if cutting is required
- Safety glasses and work gloves
Materials
- Interlocking deck tiles rated for your intended installation
- Crushed stone or compactable aggregate
- Permeable geotextile landscape fabric
- Bedding material and pavers, if required by the foundation design
- Edging restraints where appropriate
- Manufacturer-approved transition or finishing pieces
Choose materials based on your soil conditions and the requirements of your selected flooring system.
For wood deck tiles, also check the manufacturer’s guidance on ground clearance, ventilation, drainage, and acceptable substrates.
How to Install Deck Tiles on Grass: Step-by-Step
The following process explains how to replace a grassy area with a stable foundation for deck tiles.
These steps assume you’re creating a ground-level patio rather than installing tiles over an existing concrete surface.
Step 1: Measure and Plan Your Installation Area
Start by measuring the length and width of the area where you want to install the tiles.
Multiply the two measurements to calculate the total surface area.
If you allow 10% extra material, you would purchase approximately 132 square feet of tiles.
Your total project cost can be estimated as:
Total cost = Deck tile cost + Ground preparation + Foundation materials + Labor and equipment
If your tiles measure 12 x 12 inches, you would need approximately 120 tiles before accounting for cuts, damaged pieces, and spare materials.
For a simple rectangular layout, consider purchasing approximately 5-10% extra material. Complex shapes may require more.
Before proceeding:
- Mark the patio boundaries with stakes and string.
- Check the location of underground utilities before digging.
- Identify where rainwater will drain.
- Make sure the finished surface will not block doors, vents, or drainage openings.
- Plan sufficient space for walking around tables and chairs.
If the area will hold heavy outdoor furniture, pay particular attention to foundation stability and the tile manufacturer’s load limits.
Step 2: Remove Grass, Roots, and Organic Material
Use a shovel or sod cutter to remove the existing grass and its root layer.
Avoid laying tiles directly over the lawn. Organic material decomposes over time and can cause the foundation to settle.
Excavate enough soil to accommodate the complete base system, including compacted aggregate, any bedding or rigid support layer, and the deck tiles themselves.
The required depth varies with the soil, climate, drainage conditions, and planned foundation.
For a small pedestrian patio, a compacted aggregate layer of roughly 4-6 inches may be a starting point in some conditions, but it is not a universal specification. Poor soil, freeze-thaw conditions, or heavier loads may require a different design.
Remove large roots, debris, and loose organic material before moving to the next step.
Step 3: Level and Compact the Soil
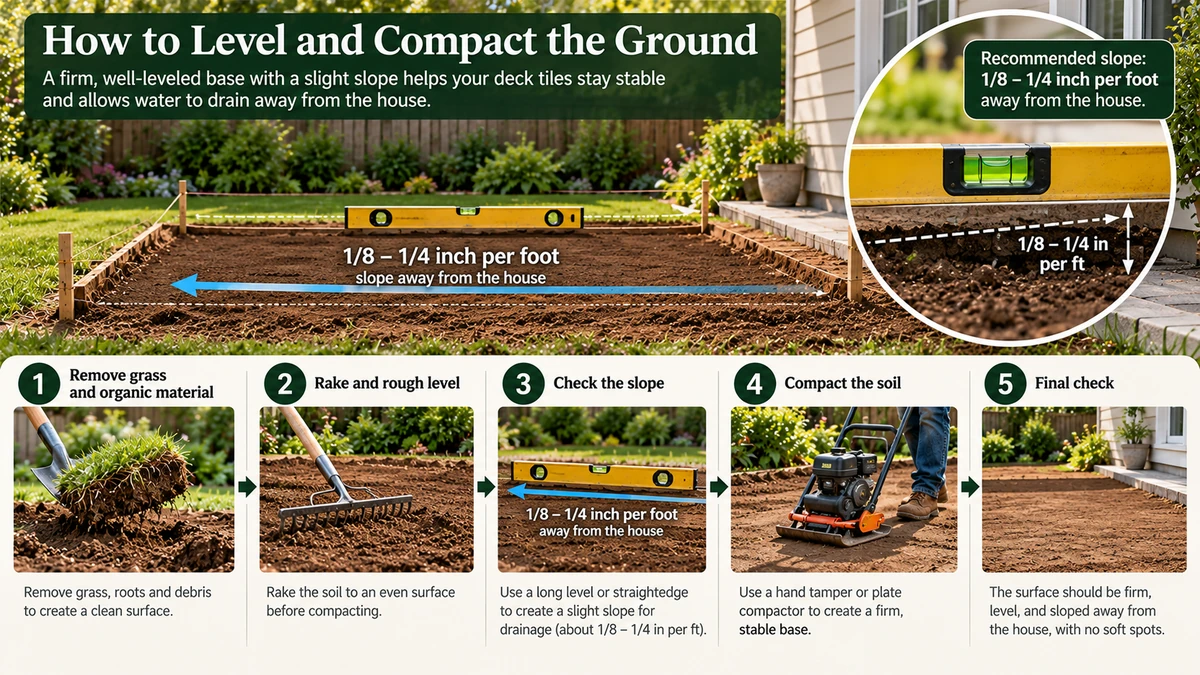
Prepare a firm, compacted foundation and maintain a slight slope away from the house to help prevent water buildup beneath deck tiles.
Once the grass is removed, use a rake to distribute the soil evenly.
Check the surface with a long straightedge and level.
The goal is not necessarily to make the entire patio perfectly horizontal. Outdoor surfaces need controlled drainage so water does not collect beneath the tiles or flow toward the house.
Where appropriate, a slope of approximately 1/8-1/4 inch per foot away from the building can be used as a planning reference, subject to the surface and manufacturer requirements.
Compact the soil using a hand tamper or plate compactor.
Pay particular attention to areas where soil has been disturbed or filled.
Important: If the soil is soft, muddy, or continues to move underfoot, do not install tiles yet. The underlying ground may require additional excavation, stabilization, or professional assessment.
Step 4: Install Landscape Fabric and the Crushed-Stone Base
Lay permeable geotextile fabric over the prepared soil if recommended for your ground conditions.
The fabric helps separate the soil from the aggregate, reducing the chance of the two layers mixing. It is not a substitute for proper drainage or compaction.
Next, spread compactable crushed stone across the installation area.
Use angular aggregate suitable for patio foundations rather than loose, rounded decorative gravel.
For deeper bases, install and compact the aggregate in manageable lifts rather than placing the entire depth at once.
Check the grade regularly and fill any low spots.
A properly prepared crushed-stone foundation should feel firm underfoot and maintain its intended drainage slope.
Step 5: Create a Tile-Compatible Supporting Surface
This is one of the most important steps when installing deck tiles on grass or dirt.
A compacted gravel foundation may be strong enough to support a patio, but the tile’s plastic interlocking base may not be designed to rest directly on aggregate.
Check the manufacturer’s approved substrates.
Depending on the product, you may need to install:
- Concrete patio pavers over a properly prepared bedding layer
- A suitable concrete surface
- An engineered support panel system specifically approved for the tiles
Make sure the supporting surface is sufficiently continuous, level, and stable to prevent unsupported connectors or concentrated loads.
Do not assume that all interlocking floor tiles have the same foundation requirements. A system designed for ground installation may perform differently from decorative wood tiles intended for concrete balconies.
Step 6: Lay the First Row of Deck Tiles
- Once the foundation is ready, begin installing the deck tiles.
- Start from a straight edge or corner that will give you a clean, consistent layout.
- Position the first tile with its connectors oriented according to the manufacturer’s instructions.
- Place the next tile beside it and connect the pieces.
- Some systems snap together with hand pressure, while others may require gentle pressure with a rubber mallet.
- Avoid striking wood slats or plastic connectors forcefully.
- Continue across the first row, checking alignment as you work.
- For square wood deck tiles, alternating the direction of the wood slats can create a basketweave-style pattern. You can also align all slats in one direction for a more continuous appearance.
Step 7: Continue Installing and Cut Edge Tiles
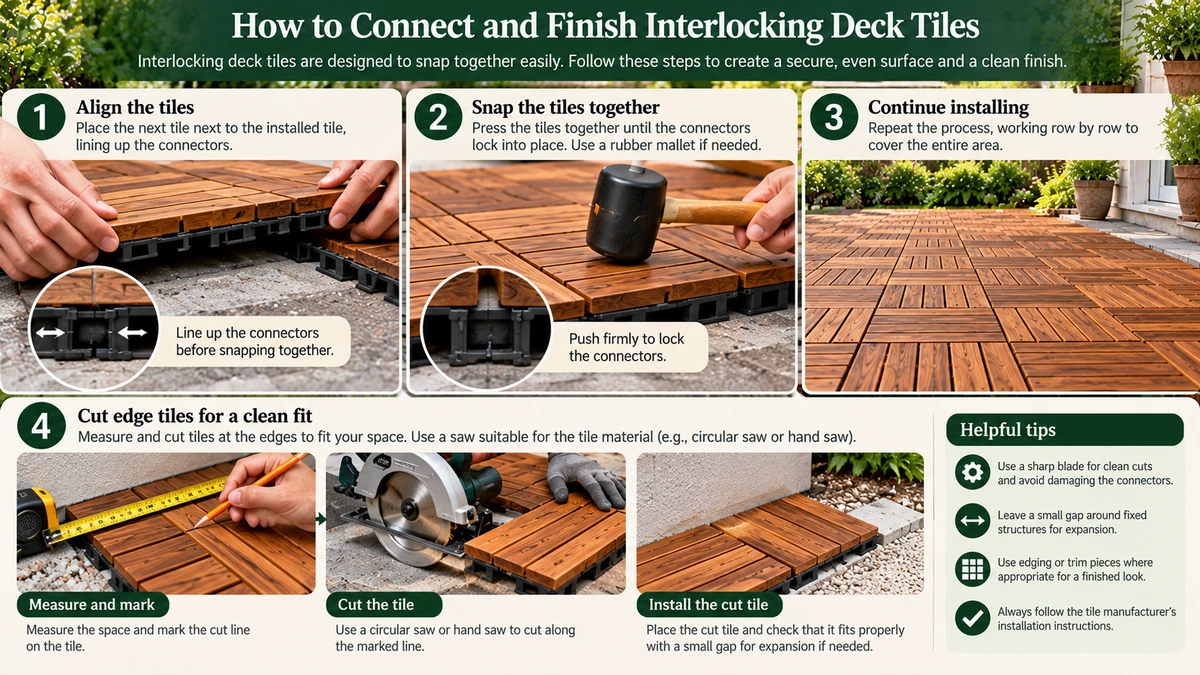
Align and connect interlocking deck tiles on a properly prepared surface, then measure and trim edge pieces for a secure, professional-looking finish.
- Continue connecting the tiles row by row.
- Check that each piece sits securely and does not rock or move independently.
- When you reach an edge, measure the remaining space carefully.
- If trimming is required, follow the manufacturer’s cutting instructions. Some tile systems can be cut with a suitable saw, but the position of plastic connectors, screws, and wood slats can limit where cuts are safe.
- Do not cut through concealed fasteners.
- Maintain any required perimeter gaps and use compatible edge or transition pieces where appropriate.
Step 8: Inspect the Finished Surface
After installation, walk across the entire surface.
Check for:
- Rocking or uneven tiles
- Loose interlocking connections
- Unsupported edges
- Standing water or low spots
- Sharp cut edges
- Inadequate clearance around doors and fixed structures
Correct problems before placing furniture on the patio.
Once the surface is stable, you can add a small dining set, lounge chairs, or other acacia wood outdoor furniture to create a functional outdoor living area.
For heavier furniture, use appropriate protective feet or load-spreading supports where recommended by the tile manufacturer.
How to Install Deck Tiles on Dirt Without Grass
If you’re starting with bare soil rather than a lawn, the installation process is similar, but you can skip removing the grass.
Begin by inspecting the ground.
Dry, compact soil may provide a better starting point than loose garden soil, but it still needs a properly designed foundation.
Follow these steps:
- Remove weeds, roots, debris, and organic material.
- Excavate to the depth required for the planned base.
- Establish the correct drainage grade.
- Compact the exposed soil.
- Install geotextile fabric if appropriate.
- Add and compact crushed stone.
- Install the supporting surface required by the tile manufacturer.
- Connect and finish the deck tiles.
Avoid installing outdoor decking tiles directly over recently filled soil unless it has been properly compacted and assessed for settlement.
For clay-rich ground or areas with frequent rainfall, drainage design is especially important.
Wood vs. Composite Deck Tiles: Which Is Better for a Ground-Level Patio?
Both wood and composite tiles can create an attractive patio, but their maintenance requirements and installation compatibility differ.
| Feature | Wood deck tiles | Composite deck tiles |
|---|---|---|
| Appearance | Natural wood grain | Wood-look or manufactured finish |
| Maintenance | May require periodic cleaning and refinishing | Usually requires cleaning, with no routine wood refinishing |
| Moisture sensitivity | Depends on wood species and finish | Depends on composite formulation and design |
| Surface temperature | Varies by wood, color, and sun exposure | Can become hot in direct sunlight |
| Installation | Requires approved substrate | Requires approved substrate |
| Best for | Homeowners who prefer natural materials | Homeowners seeking a lower-refinishing option |
Are Acacia Wood Deck Tiles Good for Outdoor Use?
Acacia is commonly used in wood outdoor furniture and outdoor flooring products because of its attractive grain and relatively dense structure.
Acacia deck tiles can work well in suitable outdoor environments when installed and maintained correctly.
However, natural wood is not waterproof.
Long-term contact with wet soil, poor ventilation, and trapped moisture can shorten the service life of wood tiles.
If you’re choosing acacia wood deck tiles, look for products with a suitable drainage design, appropriate outdoor finish, and clear installation instructions.
Common Mistakes When Installing Deck Tiles on Grass
Even high-quality deck tiles can develop problems if the foundation is not prepared correctly.
Installing Directly Over Living Grass
Grass and organic soil create an unstable foundation.
As the vegetation decomposes, the surface can settle and become uneven.
Better approach: Remove the grass and prepare a suitable structural base.
Using Loose Gravel Without Compaction
Loose gravel shifts under pressure, especially when furniture is moved across the surface.
Better approach: Use compactable angular aggregate, installed in layers and properly compacted.
Ignoring Drainage
Water trapped beneath the tiles can contribute to moisture-related problems, particularly with wood products.
Better approach: Establish proper grading and maintain the drainage and ventilation requirements of the tile system.
Assuming Every Tile Can Sit Directly on Gravel
Not all outdoor floor tiles are engineered for the same substrates.
A tile designed for a rigid concrete patio may fail when placed on an uneven aggregate surface.
Better approach: Verify approved installation surfaces before purchasing.
Installing on Unstable or Recently Filled Soil
Poorly compacted soil can settle after rainfall or repeated foot traffic.
Better approach: Compact the subgrade and correct unstable areas before constructing the base.
Related outdoor guides
- Best Acacia Wood Outdoor Table: Picks by Space & Seating
- Best Deck Tiles for Balcony Spaces: 2026 Guide
- How to Choose Outdoor Chairs: Comfort, Size & Material
- Acacia vs Composite Deck Tiles: Which Outdoor Floor Wins?
- Solid Acacia Wood Dining Chairs: 7 Reasons to Choose Them
- Wood Color Interior Design: Scandinavian, Minimalist and Vintage Rooms
How to Maintain Deck Tiles Installed in a Backyard
Proper maintenance helps preserve the appearance and performance of your patio.
Clean the Surface Regularly
Sweep away leaves, dirt, and debris.
Use mild soap, water, and a soft brush when cleaning is necessary.
Avoid harsh chemicals or aggressive pressure washing unless approved by the manufacturer.
Keep Drainage Open
Remove debris that blocks gaps or drainage channels beneath the tiles.
Check for standing water after heavy rain.
If water continues to collect, investigate the underlying drainage rather than relying on surface cleaning alone.
Inspect the Tile Connections
Check for loose connectors, warped pieces, or movement in the supporting surface.
Replace damaged components when necessary.
Maintain Natural Wood
Some wood deck tiles benefit from periodic refinishing with a manufacturer-approved outdoor wood treatment.
The appropriate maintenance schedule depends on the wood species, factory finish, weather exposure, and local climate.
How Much Does It Cost to Install Deck Tiles on Grass?
The total cost depends on the patio size, tile material, ground conditions, and type of foundation.
A useful way to estimate the project is to separate the cost into four categories.
| Cost component | What affects the price |
|---|---|
| Deck tiles | Material, quality, size, and quantity |
| Ground preparation | Grass removal, excavation, disposal, and grading |
| Foundation | Aggregate, compaction, pavers, concrete, or approved support system |
| Installation | DIY labor, tool rental, or professional labor |
If you allow 10% extra material, you would purchase approximately 132 square feet of tiles.
Your total project cost can be estimated as:
Total cost = Deck tile cost + Ground preparation + Foundation materials + Labor and equipment
A simple DIY project over an existing suitable concrete patio will generally require less foundation work than a new patio built over grass or bare dirt.
However, skipping necessary preparation to reduce costs can lead to more expensive repairs later.
Are Deck Tiles on Grass a Good Long-Term Solution?
Deck tiles can be an effective way to create an attractive outdoor surface, provided the installation system is compatible with the foundation.
They are especially useful for smaller patios, garden seating areas, and spaces where homeowners want the appearance of a wood deck without building a traditional elevated structure.
However, interlocking deck tiles should not be treated as a substitute for a properly designed foundation.
For permanent outdoor living areas, the durability of the supporting base is just as important as the quality of the tiles.
If you’re planning a larger backyard makeover, consider how the flooring will coordinate with your outdoor furniture, landscaping, and everyday use.
Natural wood tiles can complement wood outdoor furniture, while composite products may appeal to homeowners who prefer a different maintenance routine.
Frequently Asked Questions
Can you put deck tiles directly on grass?
Most standard interlocking deck tiles should not be installed directly on living grass. Grass and soil can shift, settle, and trap moisture. Remove the grass and build a stable, well-drained foundation that meets the tile manufacturer’s installation requirements.
Can you install interlocking deck tiles on dirt?
You can install interlocking deck tiles in an area that originally had dirt, but loose soil is generally not a suitable direct substrate. Prepare and compact the ground, then install an approved supporting surface before laying the tiles.
Do you need gravel under deck tiles?
Gravel is not always necessary. If you’re installing tiles on an existing suitable concrete patio, an additional gravel base is usually unnecessary. For a new ground-level patio, compacted crushed stone may form part of the foundation, but some tile systems also require a rigid surface above it.
Will weeds grow through deck tiles?
Weeds may appear in joints or around the patio edges, particularly if organic material accumulates. Removing vegetation during preparation and using appropriate base materials can reduce weed growth. Landscape fabric can help separate soil and aggregate, but it does not guarantee a weed-free patio.
How do you keep deck tiles from sinking into grass?
The most reliable approach is to avoid placing standard deck tiles directly on grass. Remove the turf, compact the soil, construct a stable foundation, and use a supporting surface approved for the tile system.
Are wood deck tiles waterproof?
Wood deck tiles are generally not waterproof. Some species and finishes tolerate outdoor exposure better than others, but prolonged moisture can still cause swelling, discoloration, warping, or decay. Proper drainage, ventilation, and maintenance are essential.
Can deck tiles stay outside during winter?
Many outdoor-rated deck tiles are designed for year-round exposure, but performance depends on the product, climate, and installation. Freeze-thaw movement, trapped moisture, and snow-removal methods can affect durability. Follow the manufacturer’s winter-care recommendations.
How long do outdoor deck tiles last?
Service life varies considerably based on material quality, climate, installation, maintenance, and exposure. A properly supported and maintained system can last longer than tiles installed on unstable or persistently wet ground. Check the manufacturer’s warranty and maintenance guidance rather than relying on a universal lifespan estimate.
Final Thoughts: The Right Way to Install Deck Tiles on Grass or Dirt
Installing deck tiles on grass or dirt is possible when you first transform the area into a suitable, stable foundation.
For most conventional interlocking tiles, the process involves removing grass or loose organic material, compacting the soil, preparing a well-drained base, and installing the rigid supporting surface required by the manufacturer.
The key is to avoid placing standard deck tiles directly over soft, uneven ground.
With the right preparation, you can create a comfortable patio that looks attractive, supports everyday outdoor activities, and is easier to maintain.
Whether you’re planning a small garden seating area or a larger backyard retreat, explore different deck tiles and interlocking floor tiles to find a system that suits your space, foundation, and preferred outdoor style.