
How to install deck tiles is a practical question for anyone who wants to refresh a patio, balcony, terrace, or garden corner without a full renovation. Interlocking deck tiles are designed to sit over a flat, stable surface and lock together piece by piece, creating a cleaner and warmer outdoor floor with much less disruption than traditional decking.
The key is preparation. Decking tiles are simple to place, but the final result depends on the surface below them, the layout you choose, and how carefully you handle edges and drainage. This guide walks through the process step by step so your outdoor decking tiles look neat, feel stable, and stay easy to maintain.
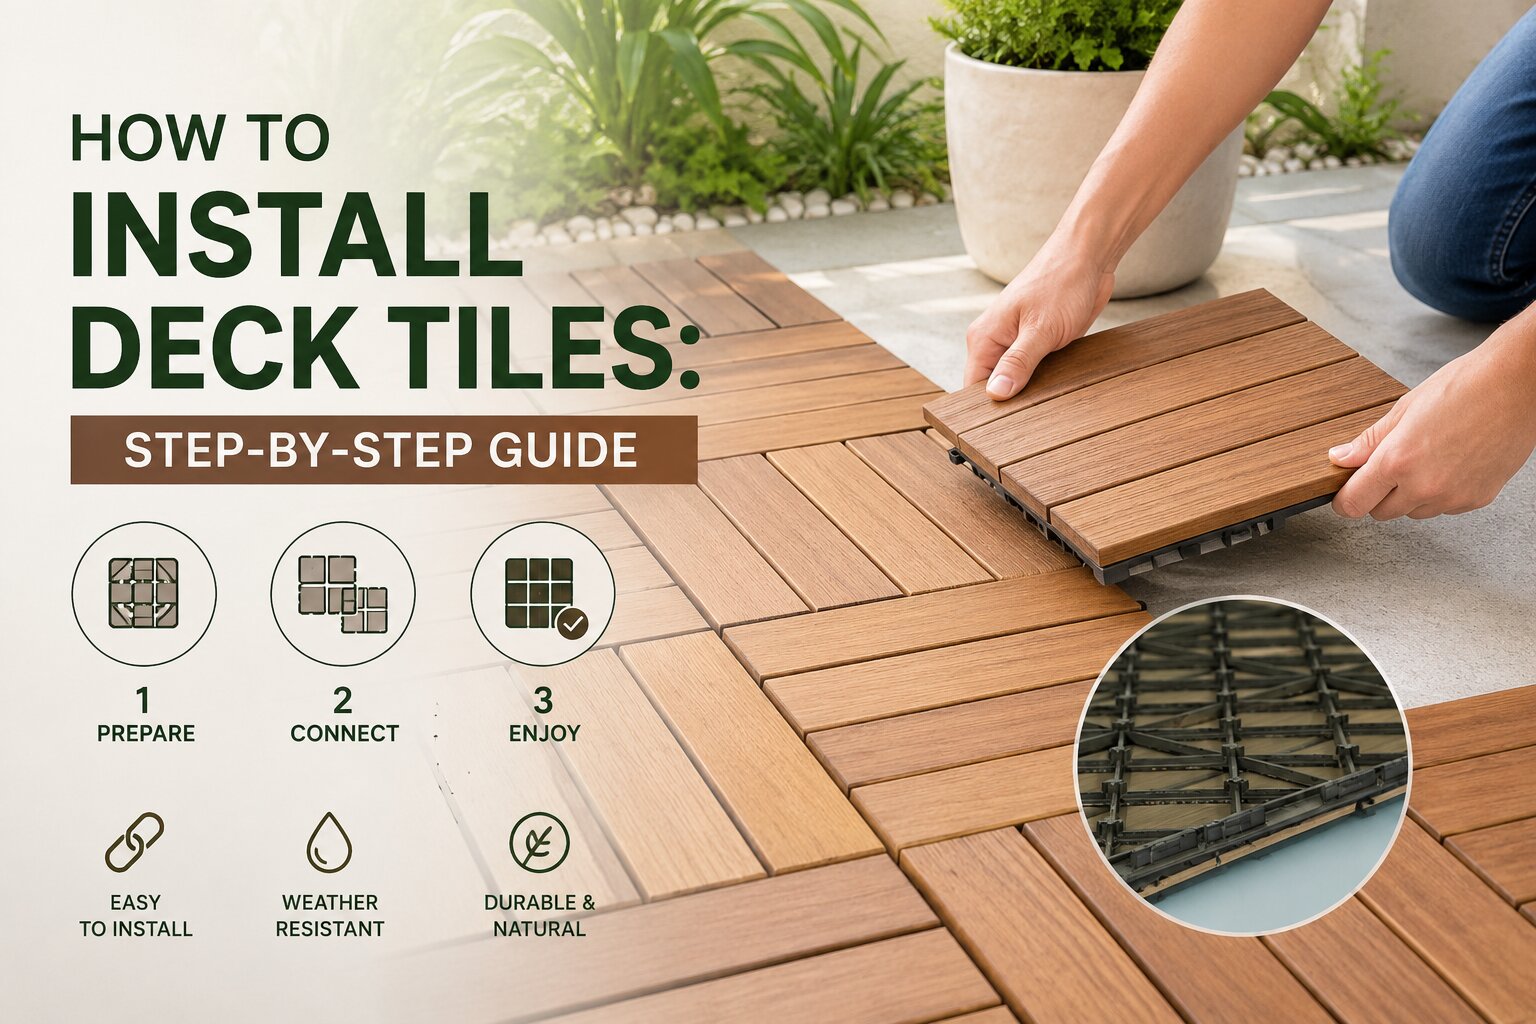
How to install deck tiles?
How to Install Deck Tiles Starts with the Right Surface
Before installing anything, check the surface where the tiles will sit. Deck tiles work best on concrete, ceramic tile, stone, compact balcony flooring, or another firm and level base. They are not meant to replace structural decking, and they should not be installed directly on loose soil, grass, or uneven gravel without a proper base.
Clean the area thoroughly. Sweep away leaves, dust, and grit, then wash the floor if it has oil, mud, or old residue. After cleaning, let the surface dry. This helps the tile backing sit evenly and reduces trapped moisture underneath the tiles.
Plan the Layout Before Locking Tiles Together
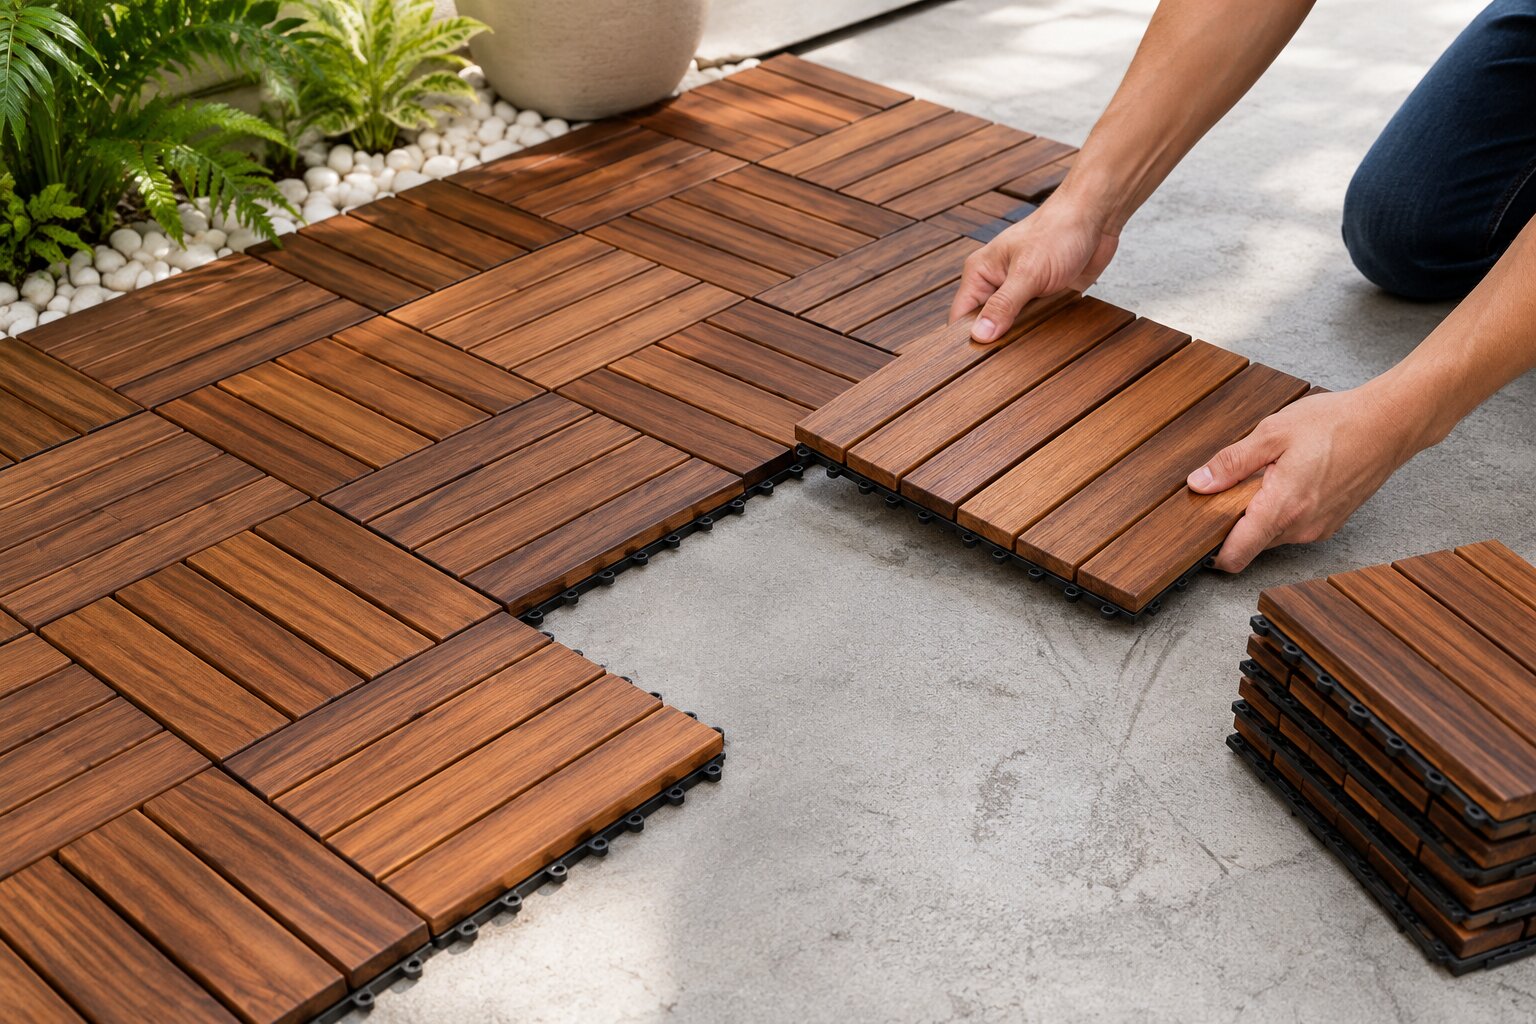
Dry-lay the first few rows before you click everything into place. Start from the most visible edge, such as the balcony entrance, patio door, or main walkway. This gives the finished floor a cleaner visual line where people see it first.
Measure the width and depth of the area. If the final row will require very narrow cuts, adjust the starting point so both sides end with more balanced pieces. A little planning at this stage prevents awkward slivers near walls, railings, or steps.
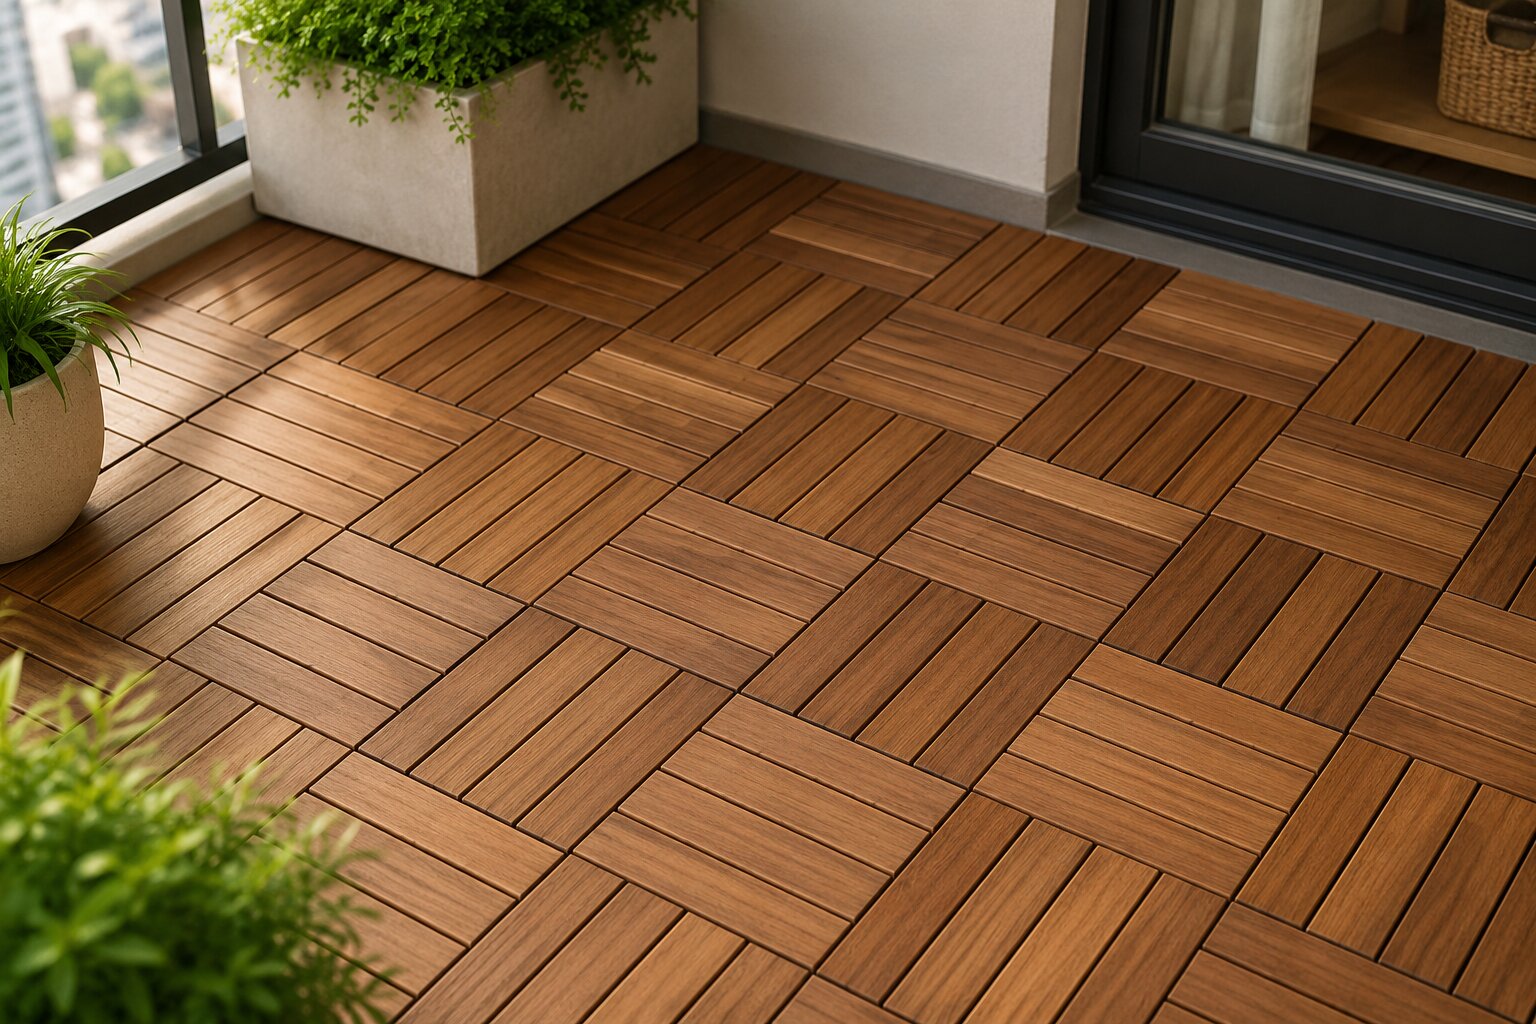
For larger areas, decide whether the wood grain should all run in one direction or alternate in a checkerboard pattern. Both can work. A single direction feels calm and continuous, while alternating directions highlight the modular look of decking tiles.
Recommended deck tiles
-
Sale
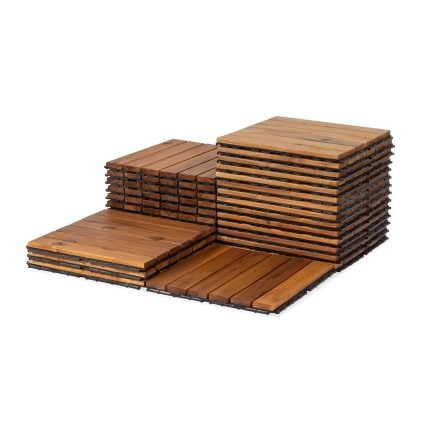 Decking Tiles
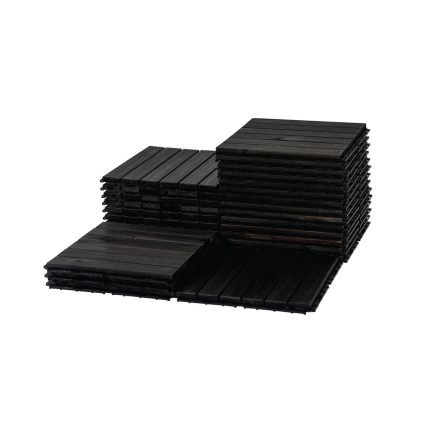
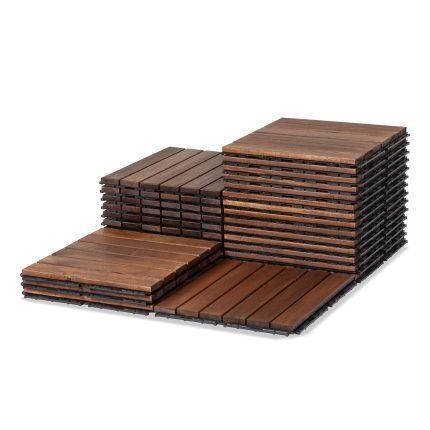
Round Joint Acacia Wood Deck Tiles, 6-Slat Interlocking Design for Indoor & Outdoor (Set of 27)
ColorOriginal price was: $104.02.$77.05Current price is: $77.05.
-
Sale
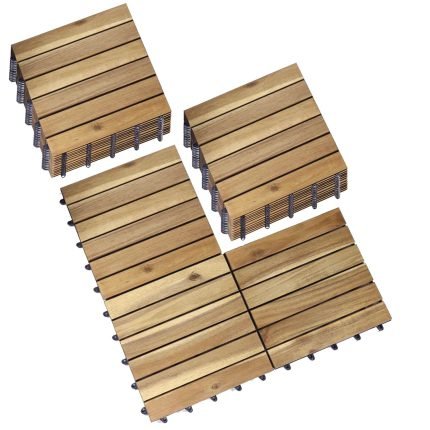
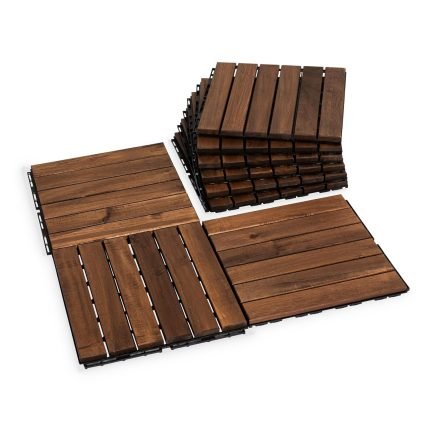
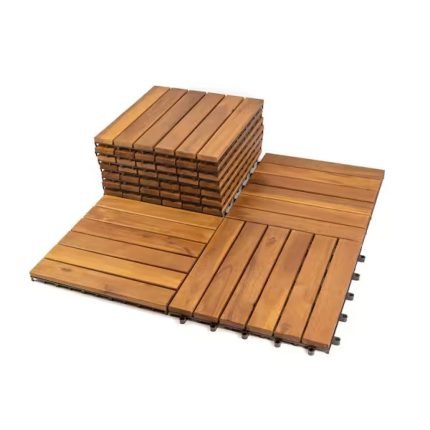 Decking Tiles
Square Joint Acacia Wood Deck Tiles, 6-Slat Interlocking Design for Indoor & Outdoor (Set of 27)
ColorOriginal price was: $104.02.$77.05Current price is: $77.05.
-
Sale
 Decking Tiles
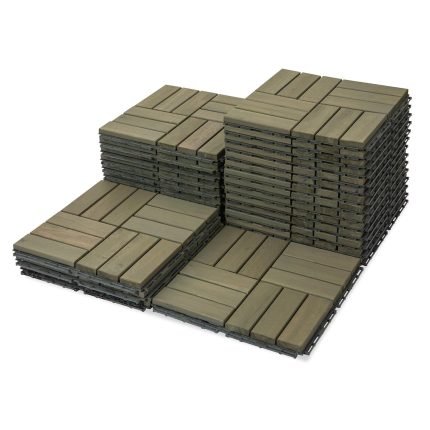
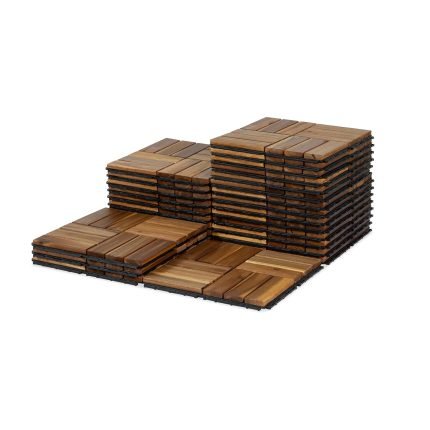
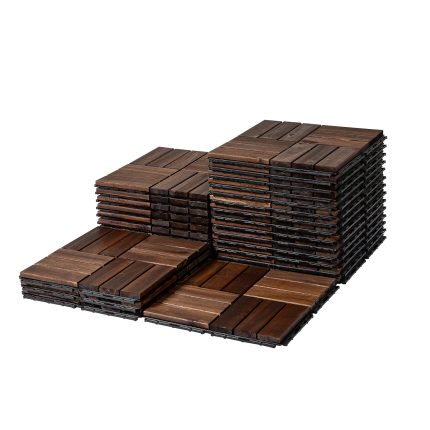
Round Joint Acacia Wood Deck Tiles, 12-Slat Interlocking Design for Indoor & Outdoor (Set of 27)
ColorPrice range: $77.05 through $79.93
Click the Interlocking Deck Tiles into Place
Once the layout is clear, begin in one corner and work outward row by row. Most interlocking deck tiles use plastic connectors or backing grids that snap together by pressing one tile into the next. Align the connectors carefully before applying pressure.
Do not force a tile that does not connect smoothly. Lift it, check the connector direction, and try again. If grit or debris gets caught in the backing, remove it before continuing. Small alignment problems at the beginning can become visible gaps later.
As you install, step back every few rows and check the pattern from a normal viewing distance. This is especially useful with wood decking because natural grain variation can make some tiles look darker or lighter than others. Moving a few tiles around early can create a more balanced final look.
Cut Edge Tiles Carefully Around Walls and Corners
Many patios and balconies will need some edge pieces trimmed to fit. Measure each gap carefully, especially around door frames, railings, drains, and corners. Mark the cutting line on the tile before removing it from the layout.
For wood deck tiles, use a suitable saw and follow the product instructions. Cut slowly so the wood slats stay clean at the edge. If the tile has a plastic grid underneath, make sure the backing remains stable after cutting. In some cases, it is better to cut from the underside so the connector grid stays easier to manage.
Leave a small expansion gap near fixed walls or heavy structures. Wood can expand and contract with moisture and temperature changes, so a little space helps the floor stay comfortable over time.
Check Drainage and Outdoor Furniture Placement
Good drainage matters. Deck tiles usually sit slightly above the floor surface, which allows water to move below them. However, the base still needs a path for water to escape. After installation, pour a small amount of water in a discreet area and check whether it drains properly.
Think about the outdoor furniture that will sit on top of the tiles. Chairs, tables, plant stands, and storage pieces should rest evenly, without wobbling. If a heavy piece of wood outdoor furniture crosses a tile joint, make sure the tiles beneath it are fully locked and stable.
Acacia wood outdoor furniture pairs naturally with deck tiles because the tones feel connected. Still, avoid dragging heavy furniture across the floor. Lift pieces when possible to protect the wood surface and the tile connectors.
Related outdoor guides
- Are Wood Deck Tiles Worth It? Pros, Cons & Cost
- Foldable Wooden Furniture for Small Spaces
- How to Choose Outdoor Chairs: Comfort, Size & Material
- Fall Front Porch Seating Ideas With Wood Chairs
- Best Acacia Wood Outdoor Table: Picks by Space & Seating
- Bar Stool vs Counter Stool Height: How to Choose the Right Stool
Maintain Deck Tiles After Installation
After learning how to install deck tiles, the next step is keeping them in good condition. Sweep regularly so dust, leaves, and sand do not build up in the gaps. If the tiles are exposed to rain, check occasionally underneath a few pieces to make sure water is not trapped.
Clean the surface with a soft brush or damp cloth. Avoid harsh chemicals unless the product instructions allow them. For natural wood tiles, occasional oiling may help maintain the color and reduce dryness, especially in sunny or windy outdoor areas.
If one tile becomes damaged, the interlocking system makes replacement easier than traditional decking. Lift the surrounding tiles carefully, remove the damaged piece, and click a new tile into place.
Common Mistakes to Avoid
The most common mistake is installing over an uneven surface. If the base dips, slopes unexpectedly, or has loose material, the tiles may rock underfoot. Another mistake is starting without a layout plan, which can leave awkward cuts in the most visible part of the patio or balcony.
Also avoid blocking drains. Deck tiles can improve the appearance of an outdoor floor, but they should not hide drainage problems. If water already pools in one area, solve that issue before installing tiles.
Finally, do not treat deck tiles as permanent structural flooring. They are a flexible surface upgrade, not a replacement for damaged concrete, unsafe balcony floors, or rotten boards underneath.
Frequently Asked Questions
Can I install deck tiles directly on grass?
Usually no. Deck tiles need a firm, flat, stable base. Grass and soil shift with moisture, so they can make the tiles uneven. Use a proper compacted base or install over concrete, stone, or another stable surface.
Do deck tiles need glue or screws?
Most interlocking deck tiles do not need glue or screws. They click together using built-in connectors. Always follow the product instructions, especially for edge pieces or unusual installation areas.
Can I cut deck tiles to fit corners?
Yes, many wood deck tiles can be cut to fit corners, railings, or wall edges. Measure carefully, use the correct saw, and keep the backing grid stable so the tile remains secure after cutting.
Are deck tiles good for balconies?
Yes, deck tiles are often a good option for balconies if the surface is flat and drainage remains clear. They can make a balcony floor feel warmer and more finished without a major renovation.
Final Thoughts
How to install deck tiles comes down to preparation, layout, careful fitting, and simple maintenance. Start with a clean and stable surface, plan the pattern before locking tiles together, and pay attention to drainage around the finished floor.
Done well, decking tiles can turn a plain patio or balcony into a warmer outdoor space that works beautifully with outdoor furniture, plants, and everyday relaxation.